The Best Steak Cooking Techniques, Ranked by a Pitmaster
Reverse sear, sous vide, cast iron, open flame — we break down every modern steak technique and when to use each.
Cooking a great steak is one of those skills that separates good home cooks from confident ones. Once you understand the underlying principles, you stop following recipes — you start making decisions.
The Principles That Govern Every Technique
Every steak method, no matter how it looks, is solving for the same three problems: even interior doneness, a deeply browned crust, and juice retention. The reason there are so many techniques is that you can sequence those goals differently.
Technique #1: The Reverse Sear (Best Overall)
If you only learn one method, learn this one. It produces the most consistent results across thick cuts.
- Salt the steak at least 45 minutes ahead, ideally overnight uncovered in the fridge.
- Cook low in a 250°F oven or indirect grill zone until the interior reads 115°F (for medium-rare).
- Sear in a screaming-hot cast iron skillet or directly over coals for 60–90 seconds per side.
The result: edge-to-edge pink, a mahogany crust, no overcooked gray band. This is the technique the great steakhouses use, scaled down.
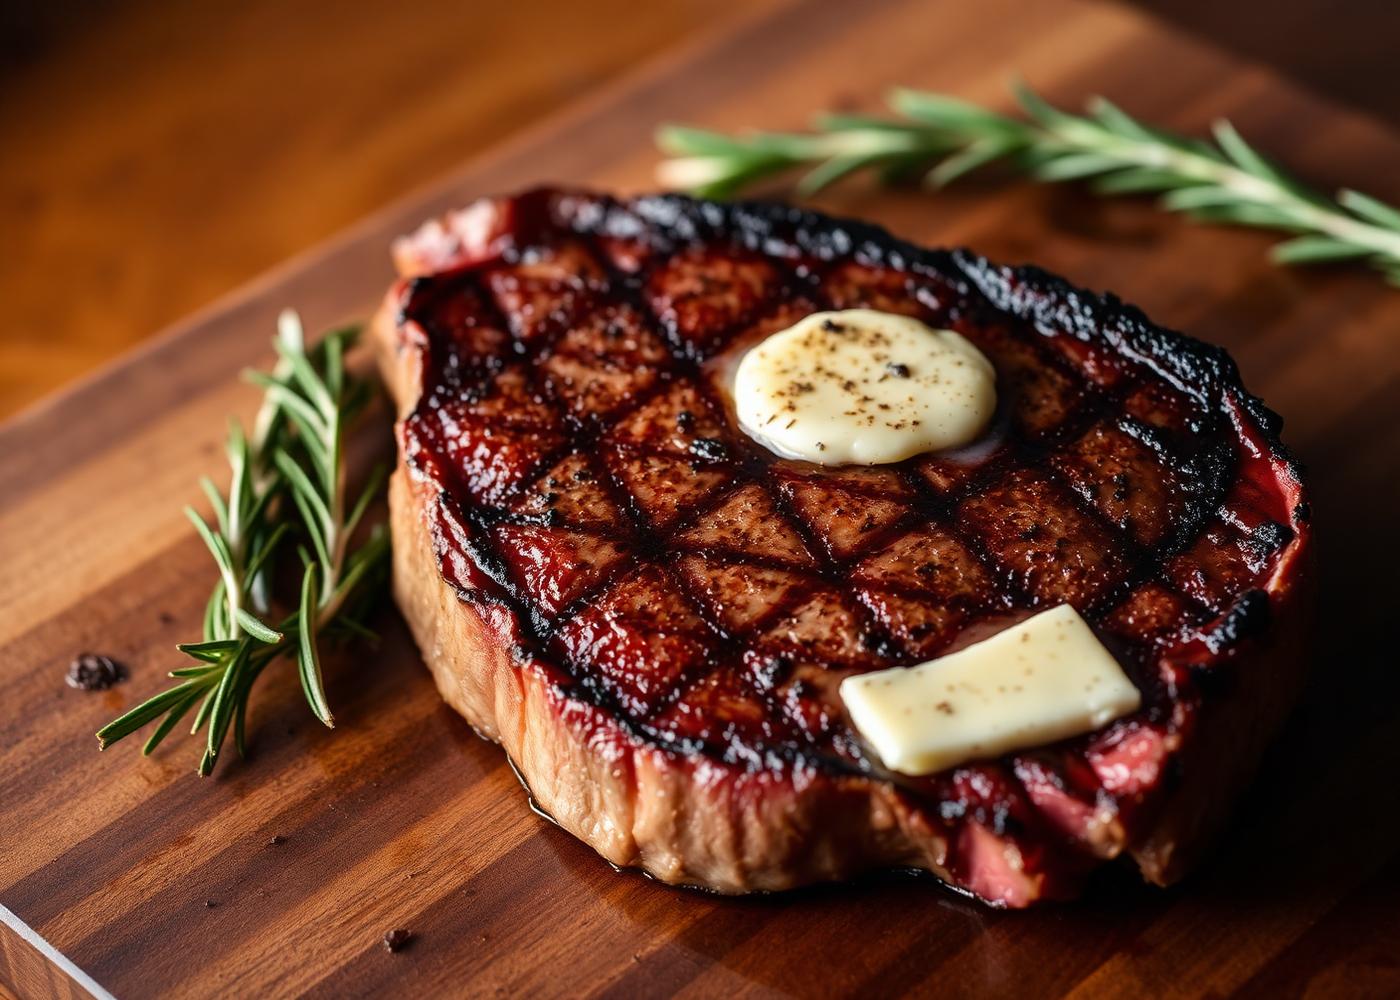
Technique #2: Cast Iron + Butter Baste
The restaurant classic. Best for steaks 1.5 inches or thinner.
Heat a cast iron pan until it's smoking. Add neutral oil with a high smoke point (avocado, refined safflower). Sear the steak for 2 minutes on the first side without moving it. Flip, add a generous knob of butter, fresh thyme, and a smashed garlic clove. Tilt the pan and spoon the foaming butter over the steak continuously for the next 2 minutes.
Technique #3: Sous Vide + Sear
The most foolproof method, and the slowest. Vacuum-seal your steak with salt, pepper, and a sprig of thyme. Cook in a 130°F water bath for 1–4 hours (longer is fine, won't overcook). Sear the dried-off steak in a ripping-hot pan for 45 seconds per side just to develop crust.
Use this when you need to cook a steak to an exact temperature without thinking about timing — perfect for hosting.
Technique #4: Direct Live-Fire Grilling
The most fun, the most flavorful, the easiest to mess up. Build a hot charcoal bed using lump charcoal. Place the grate close to the coals. Sear hard, 90 seconds per side, then move to the cool zone to finish if the steak is thick. This is the closest thing to a real wood-fire steakhouse you can get at home.
Choosing the Right Cut
- Ribeye: Most flavor, most marbling. Forgiving. Buy 1.5 inches thick.
- Strip: Cleaner flavor than ribeye, firmer texture. A classic steakhouse cut.
- Filet: Most tender, mildest flavor. Serve with a sauce or compound butter.
- Porterhouse / T-Bone: Best of both worlds — filet on one side, strip on the other.
- Tomahawk: A long-bone ribeye. Showpiece cut. Use reverse sear.
The Doneness Chart That Matters
- Rare: 120°F
- Medium-rare: 130°F ← the sweet spot for most cuts
- Medium: 140°F
- Medium-well: 150°F
- Well: don't.
Pull the steak 5°F below your target. Carryover cooking will finish the job during rest.
Resting Isn't Optional
A 5–10 minute rest under a loose foil tent is non-negotiable. Cut into the steak immediately and the juices flood the cutting board instead of staying inside the meat. The patience tax is real and small. Pay it.
Pairing Steak With the Right Sides
Keep it simple: a crisp green salad, a baked potato with cultured butter, a bottle of bold red. Save the complicated sides for nights when the steak isn't the centerpiece. For full menu ideas see our family cookout menu guide.
FAQ
Should I oil the steak or the pan?
Oil the steak lightly. Less smoke, more control.
Can I cook frozen steak?
You can — sear from frozen, then finish in a low oven. It's not the best technique, but it works in a pinch.
What's the best salt?
Diamond Crystal kosher for seasoning. Maldon flakes for finishing right before serving.
Ready to fire up the grill? Browse our complete grilling pillar for more techniques.